


WATCH: TUTORIAL | HOW TO BUILD AN AXOLOTL POND IN MINECRAFT

Dig A Hole For Your Pond
The first step of this build is digging a deep enough and big enough hole, for your Axolotls to live in. The more Axolotls you plan on adding the more space you will need.
Once your hole is dug, use mossy cobblestone and mossy stone blocks to cover the walls and floor. Make sure you leave some areas of exposed dirt, to give the underwater portion some variety.

Add A Rim Around the Axolotl Pond
Next, use the same mossy cobblestone and mossy stone blocks to create a rim around the pond. This will keep the Axolotls in the pond, if you add frogs as well they can jump over this.
Use mossy stone stairs and slabs with the other blocks to create structures around the pond. I went with a flooded house look, so I made structures look like window and door frames.

Fill Your Minecraft Axolotl Pond
This step may take some time if you are playing in Minecraft’s survival mode vs creative mode, fill the pond with water. You can do this with a bucket of water, or by rerouting water from a nearby source.
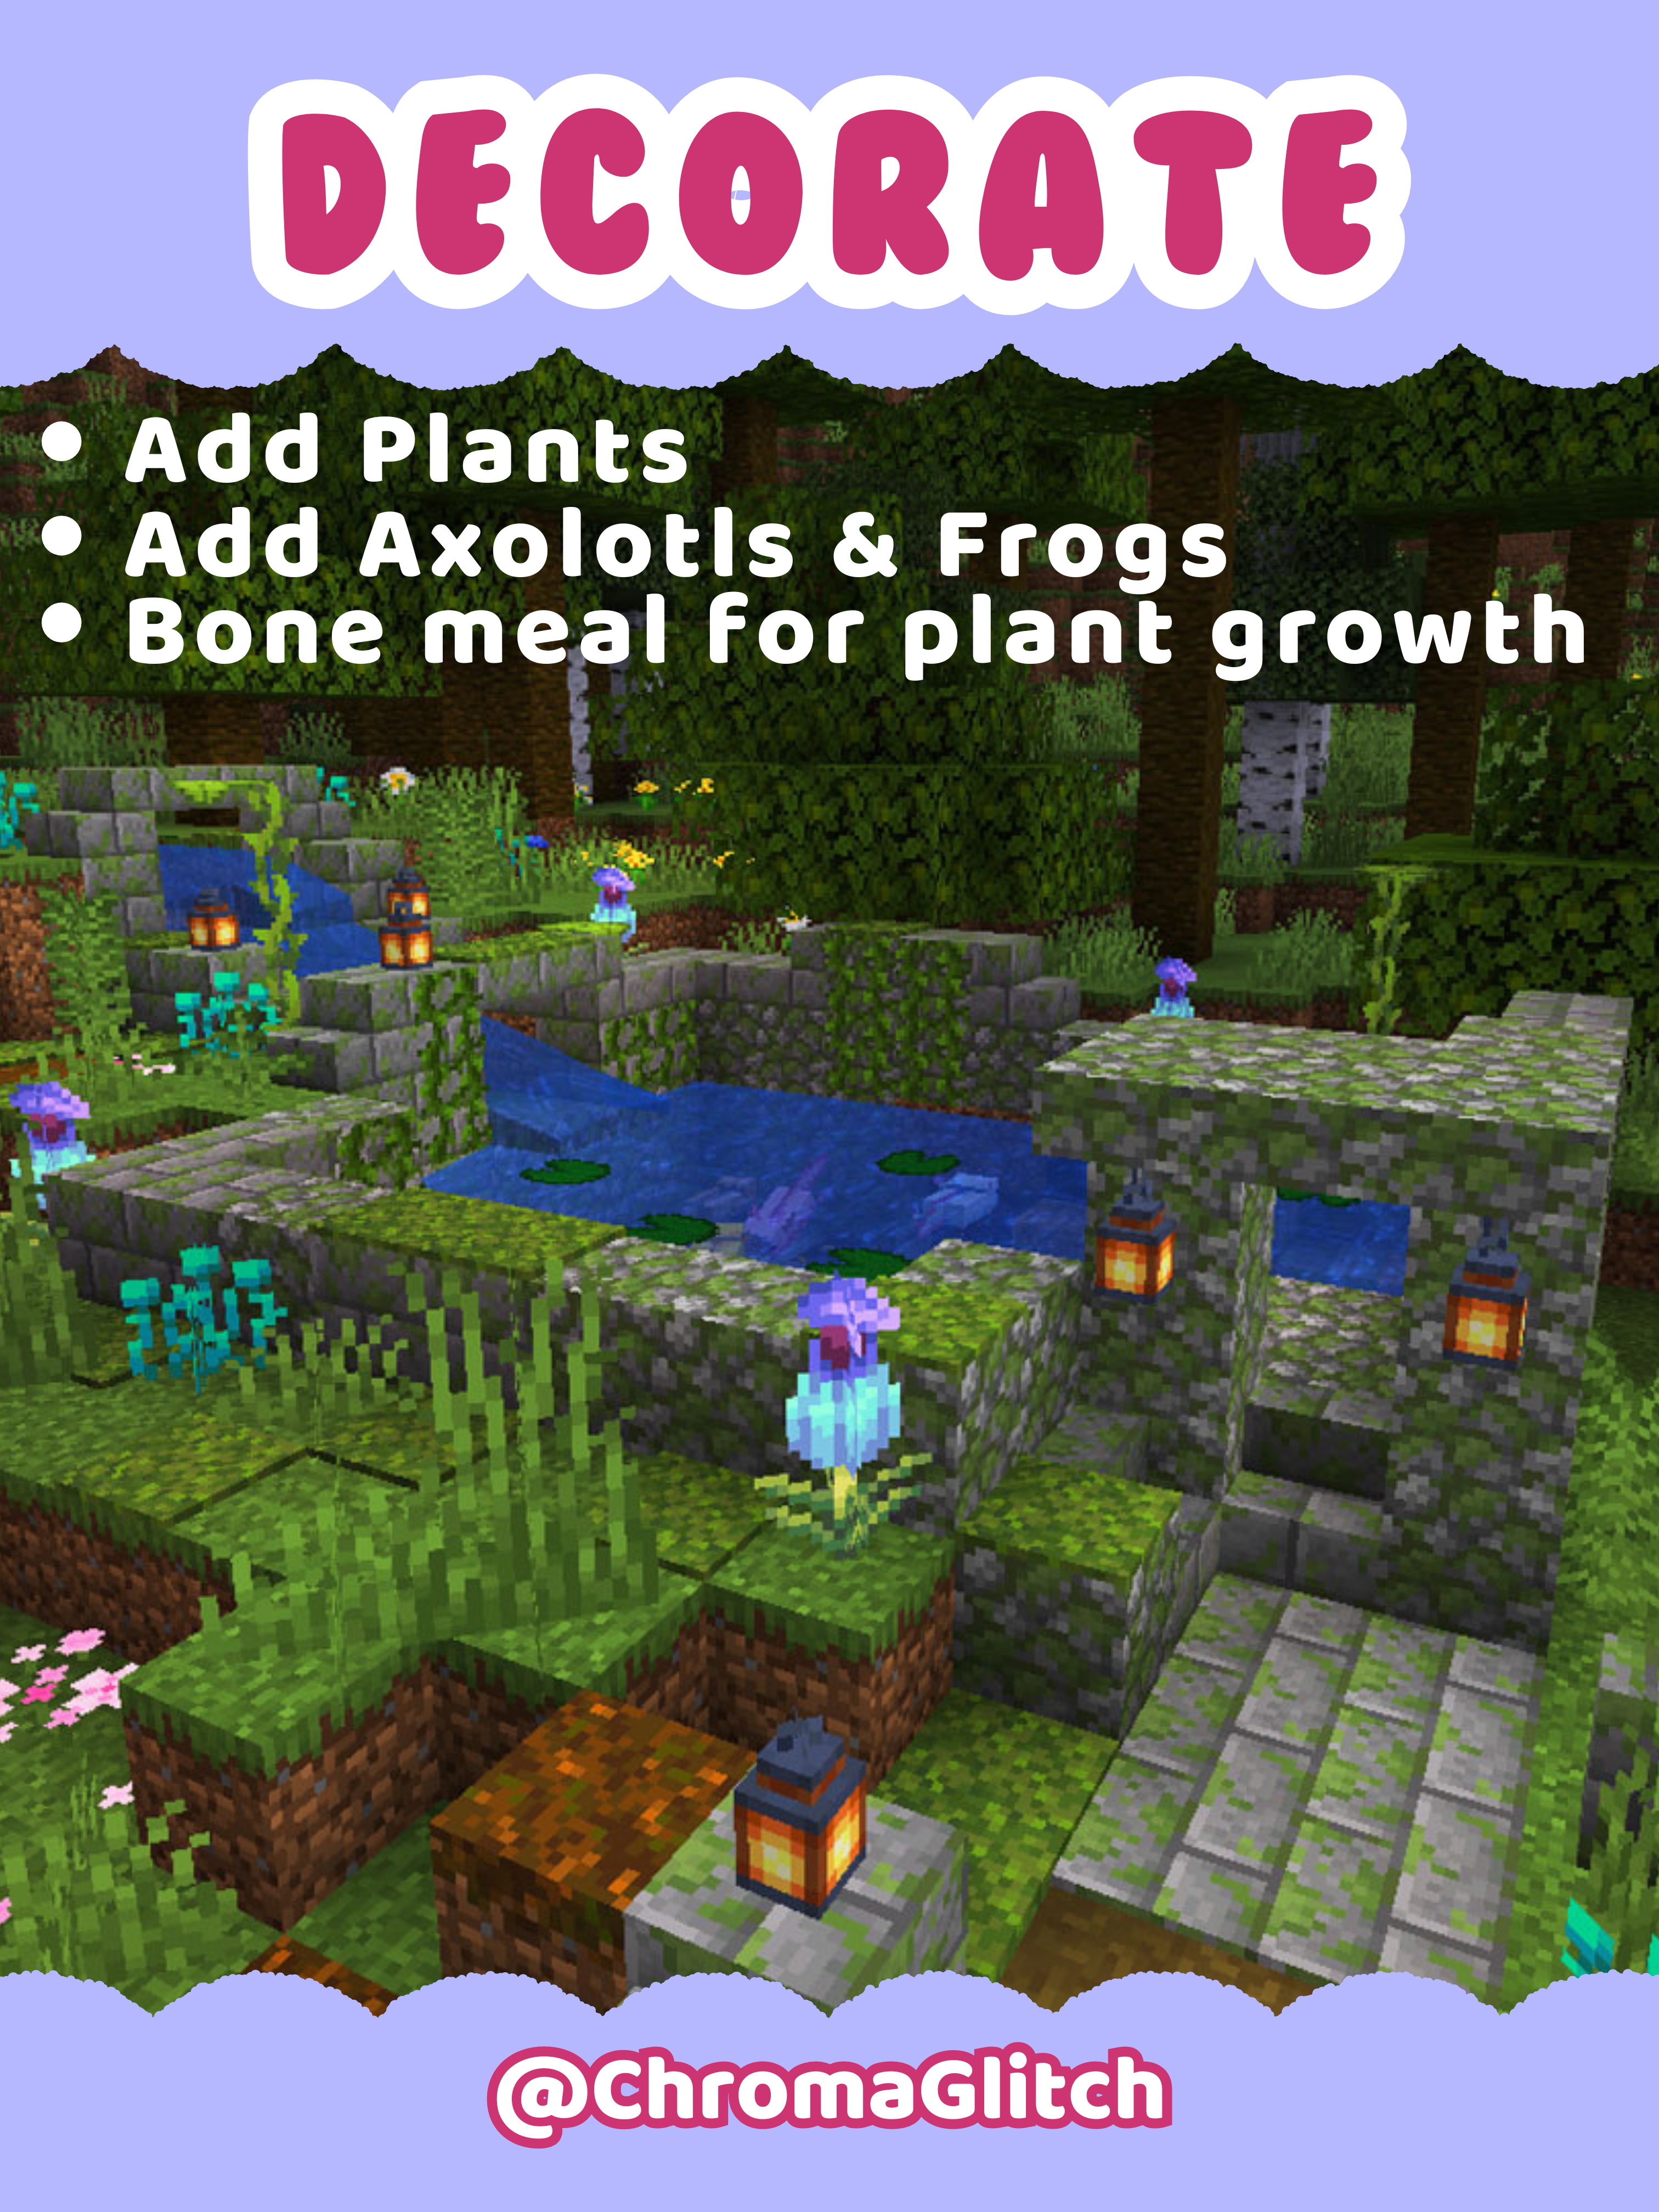
Decorate Your Axolotl Pond
You can decorate your Axolotl pond however you like, at this point. For a ruin-themed pond, I recommend using vines, ferns, adding trees (use bonemeal to speed up sapling growth), and flowers. Don’t stop at these, use Mossy carpet slabs and various dirt blocks to add even more variety to the space.
Add Axolotls To Your Pond
Finally, add Axolotls to your pond. If you are in creative mode in Minecraft, you can use an Axolotls spawn egg to do this. If you are in Minecraft’s survival mode you can pick up wild Axolotls with a bucket.
Then you have a functioning Axolotl pond. If you found this tutorial helpful, be sure to share it with other Minecraft Axolotl enthusiasts.


Leave a comment