


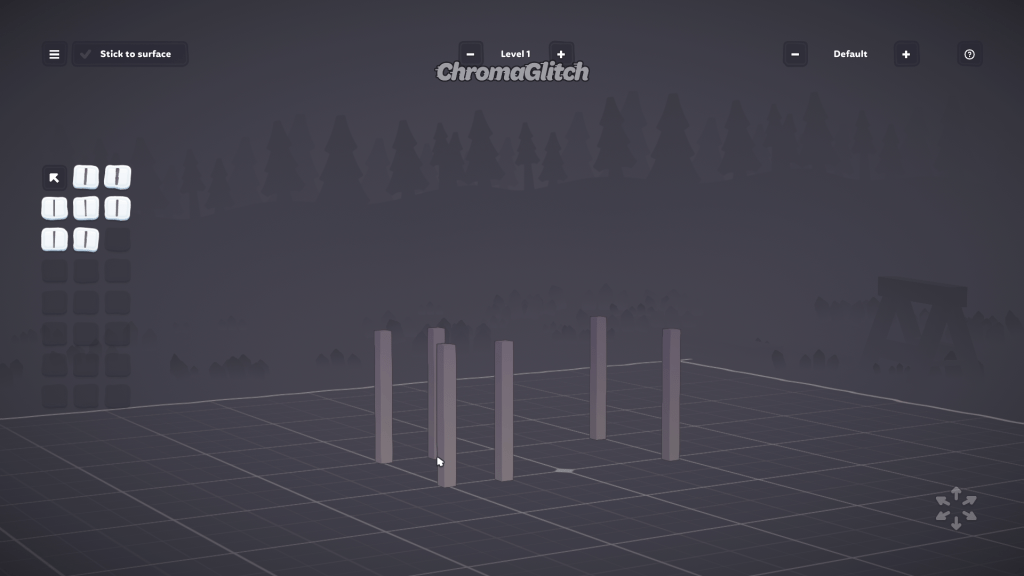
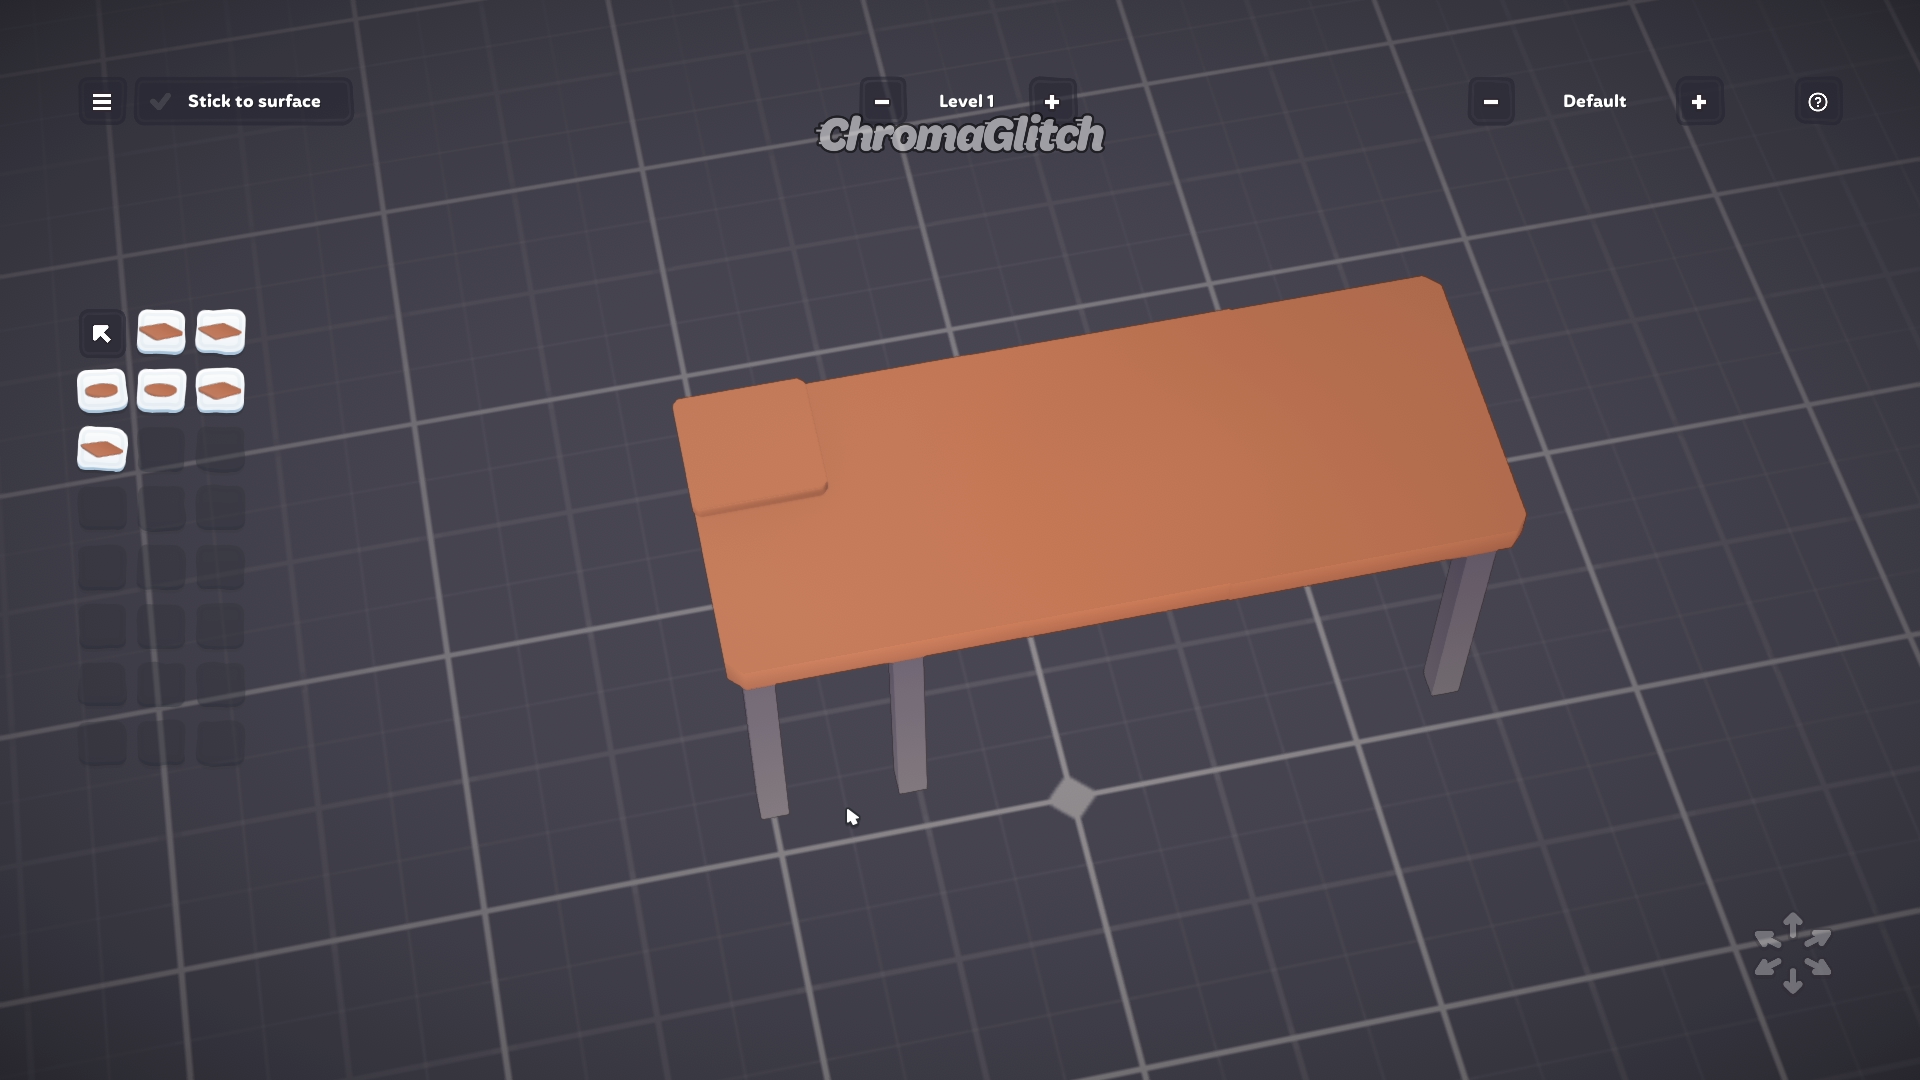
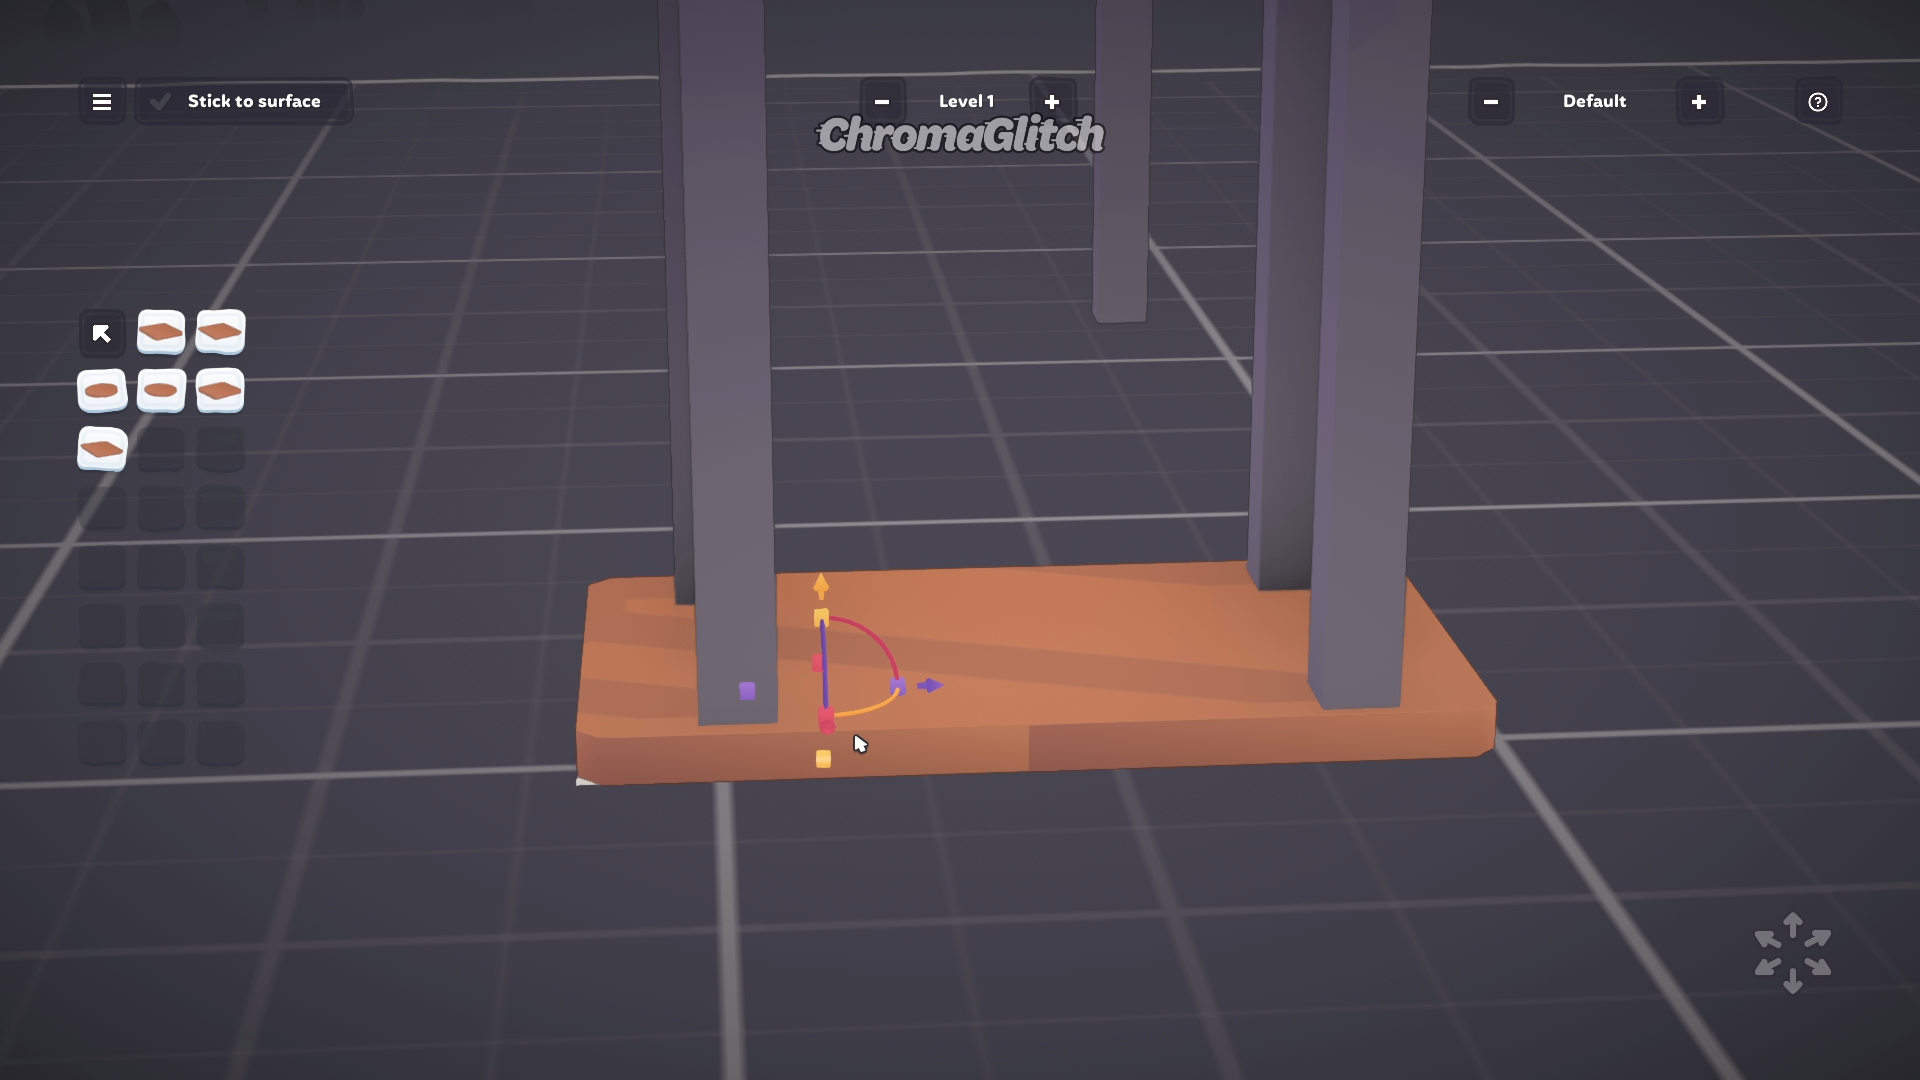
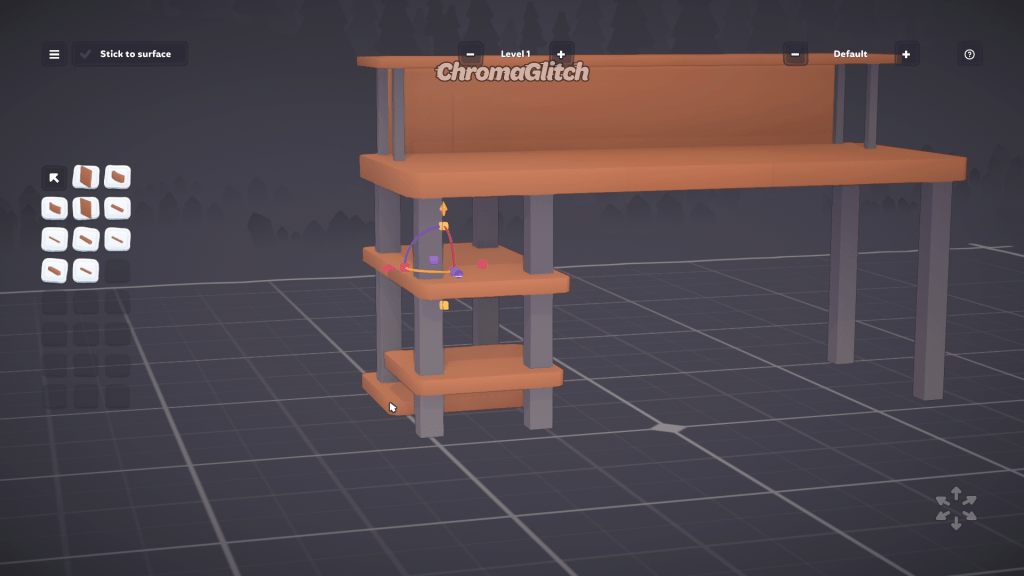
The first thing you’ll want to do is pick which table legs to use and hold Shift + Left Mouse Button to place six of these legs on the grid. Try to leave a space for a desk chair to fit into.
Now, create the main desk surface by navigating to the Surfaces category, selecting the first square option, placing it on the grid, and scaling it down five times. Select this shape again and while holding the Shift key, place the surface three times, making sure that the surfaces are aligned and clip into each other to create the illusion of a long single rectangle.
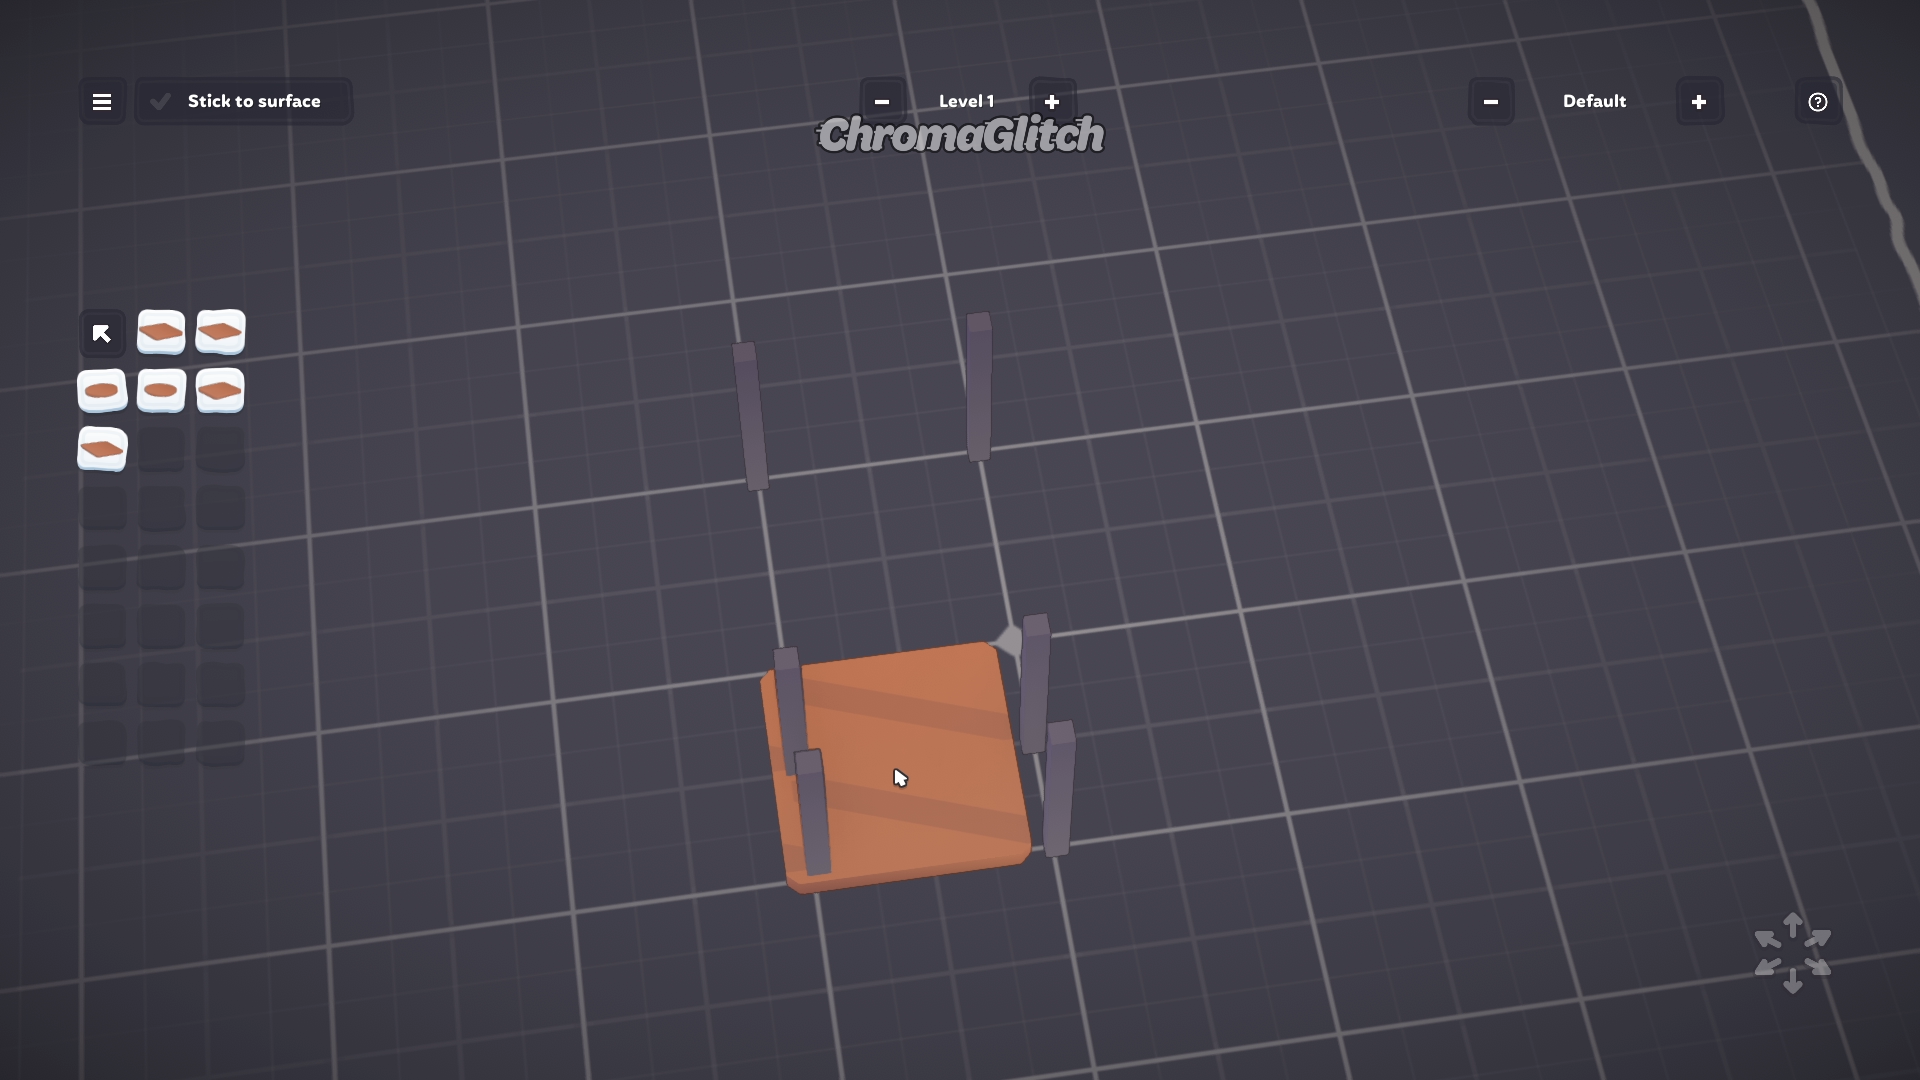

Now you will need to readjust the legs to match the desk surface. To do this, click on one of the surface squares and raise it by 0.2, and then repeat this with the other two squares. Adjust the legs under the surface so that they look like they’re supporting the desk. If you are having trouble lining the legs up perfectly, lower the two end squares to 0.1 so the legs clip through to make it easier to see where they are placed. When you’re done, move the surface squares back up to 0.2.
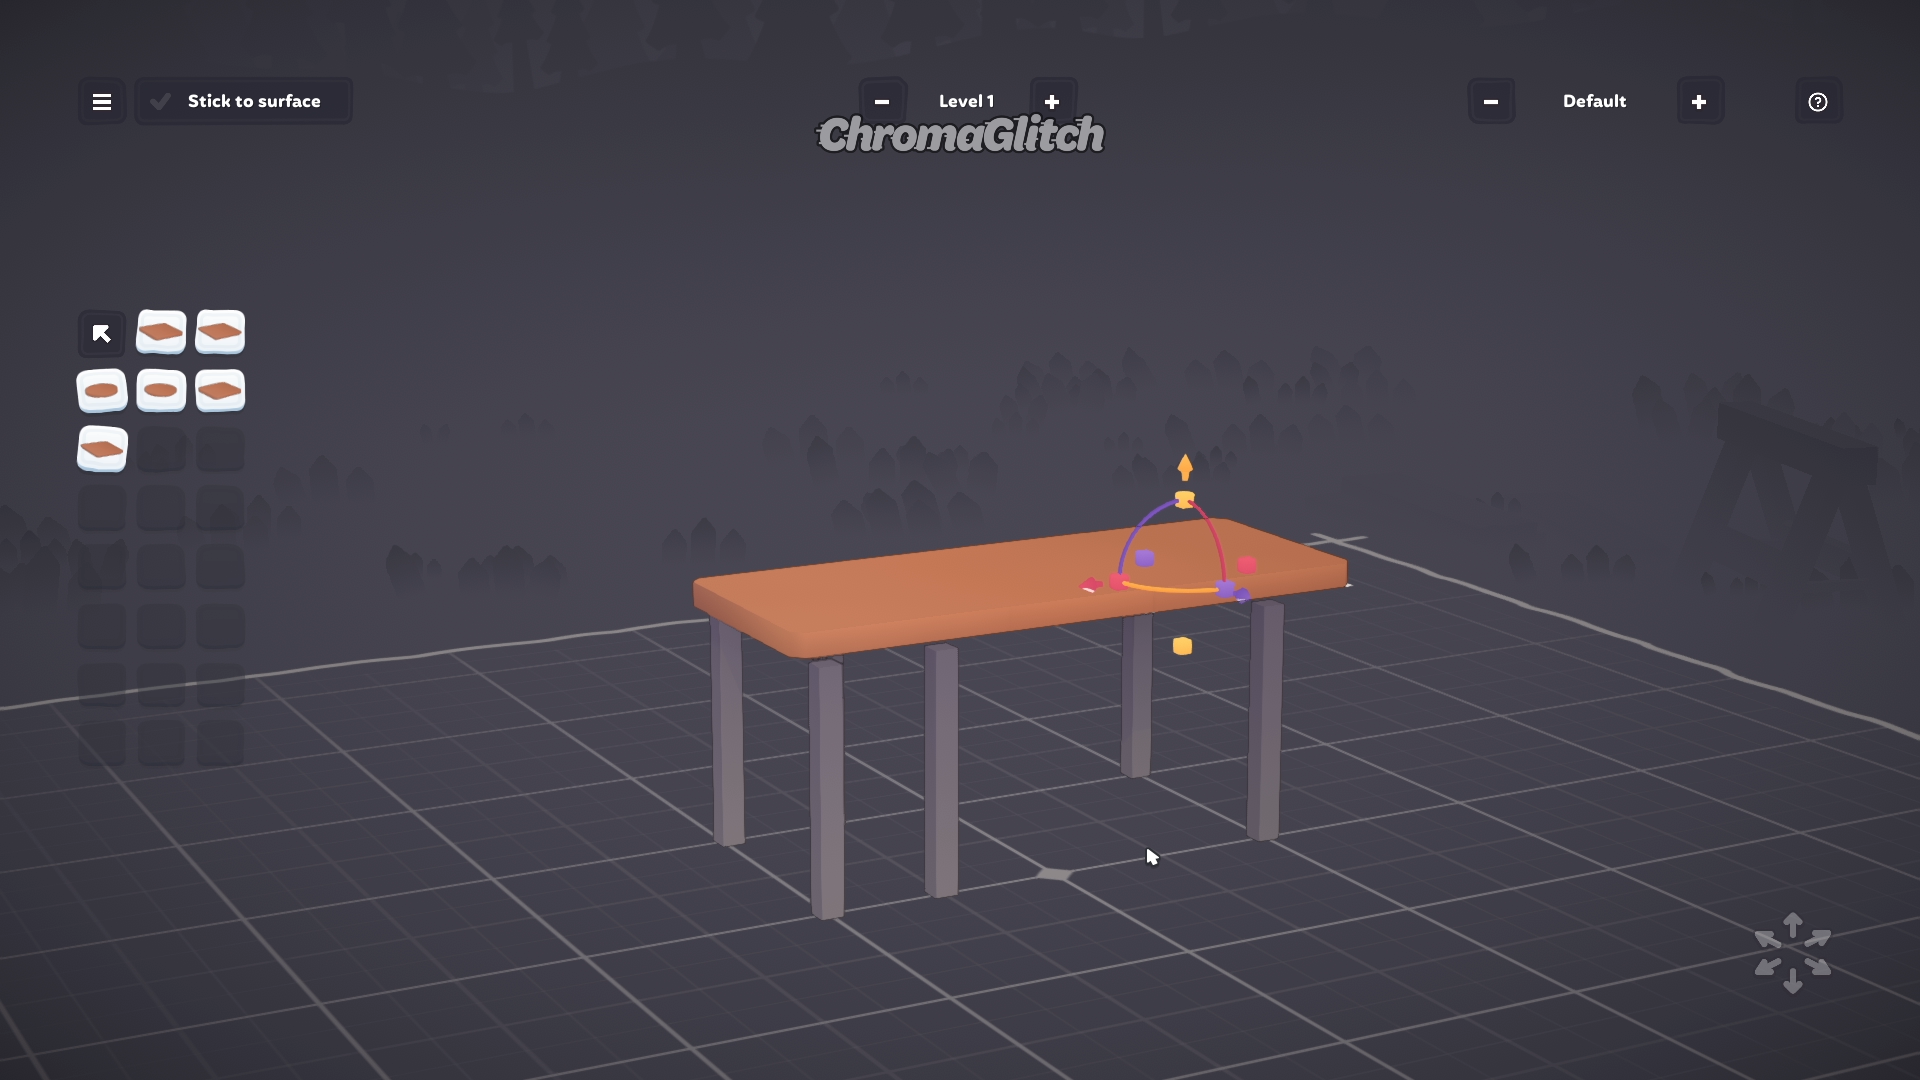
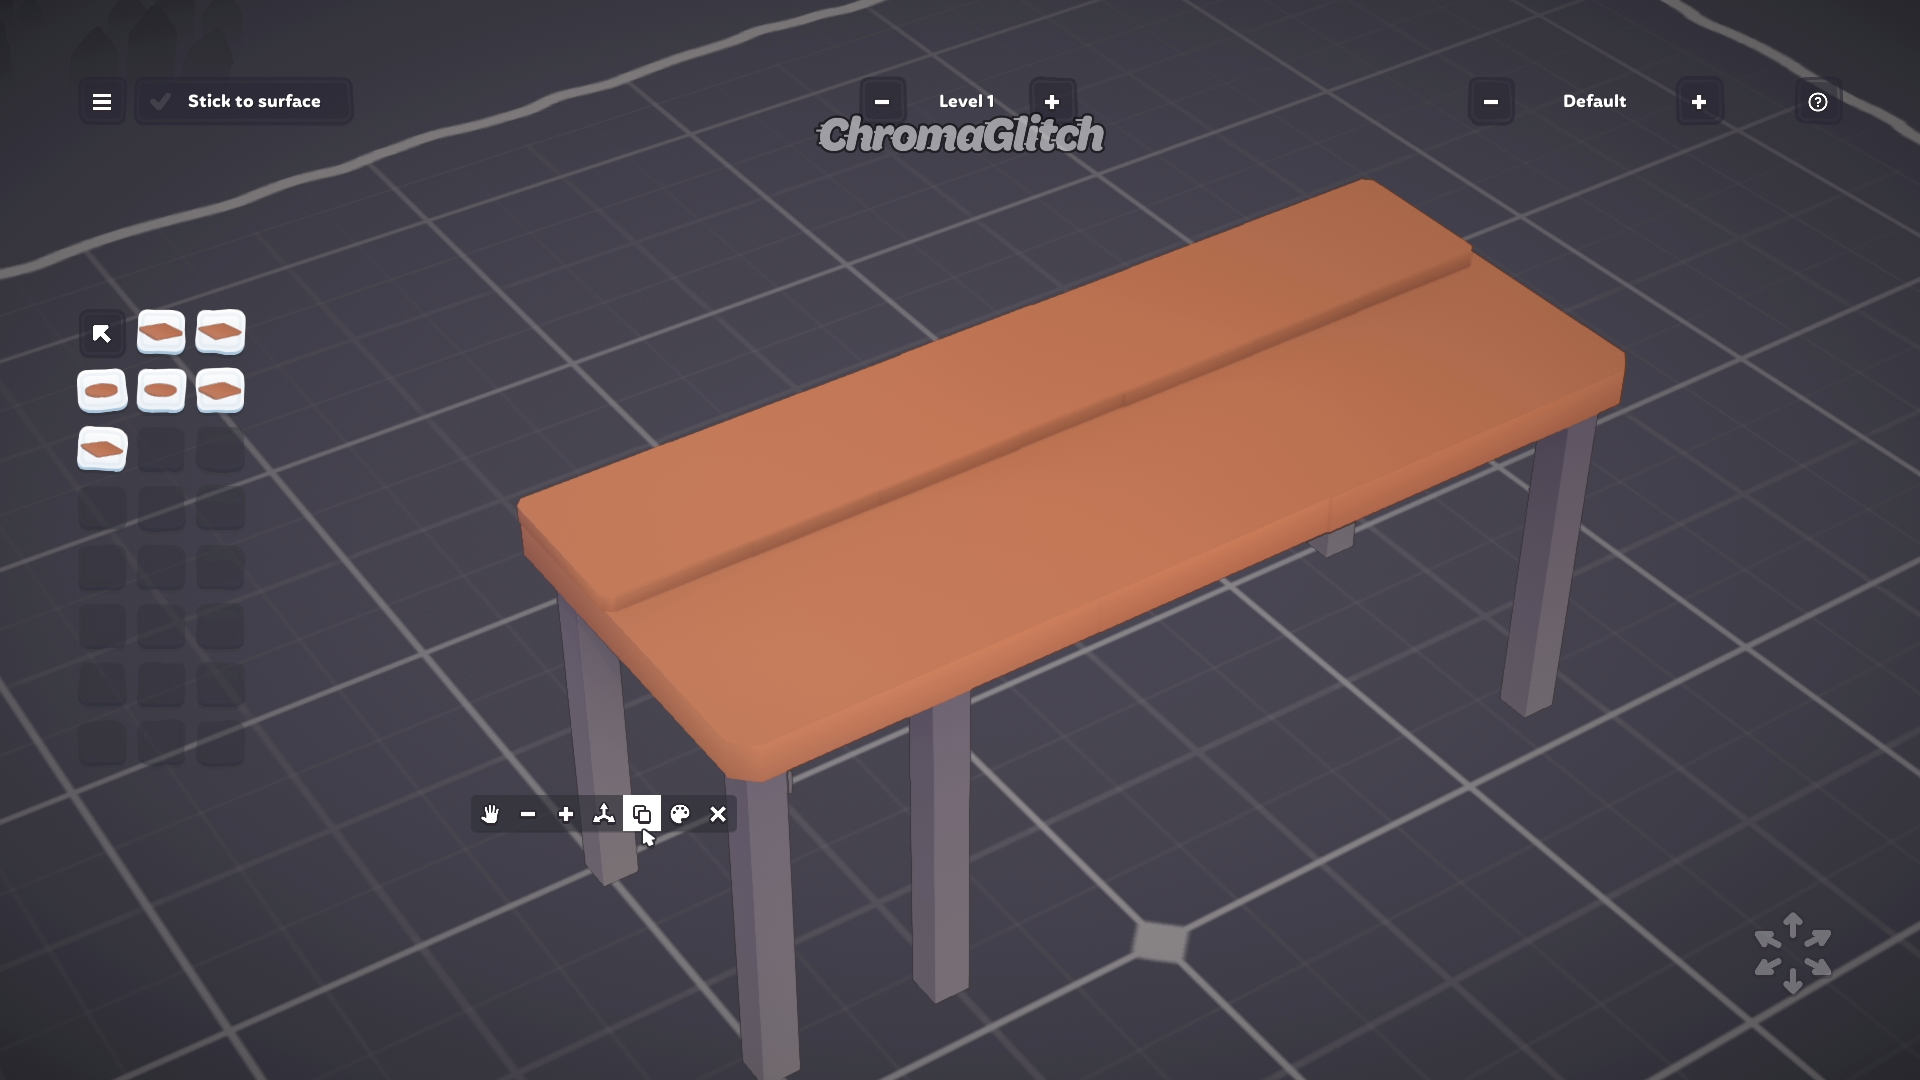
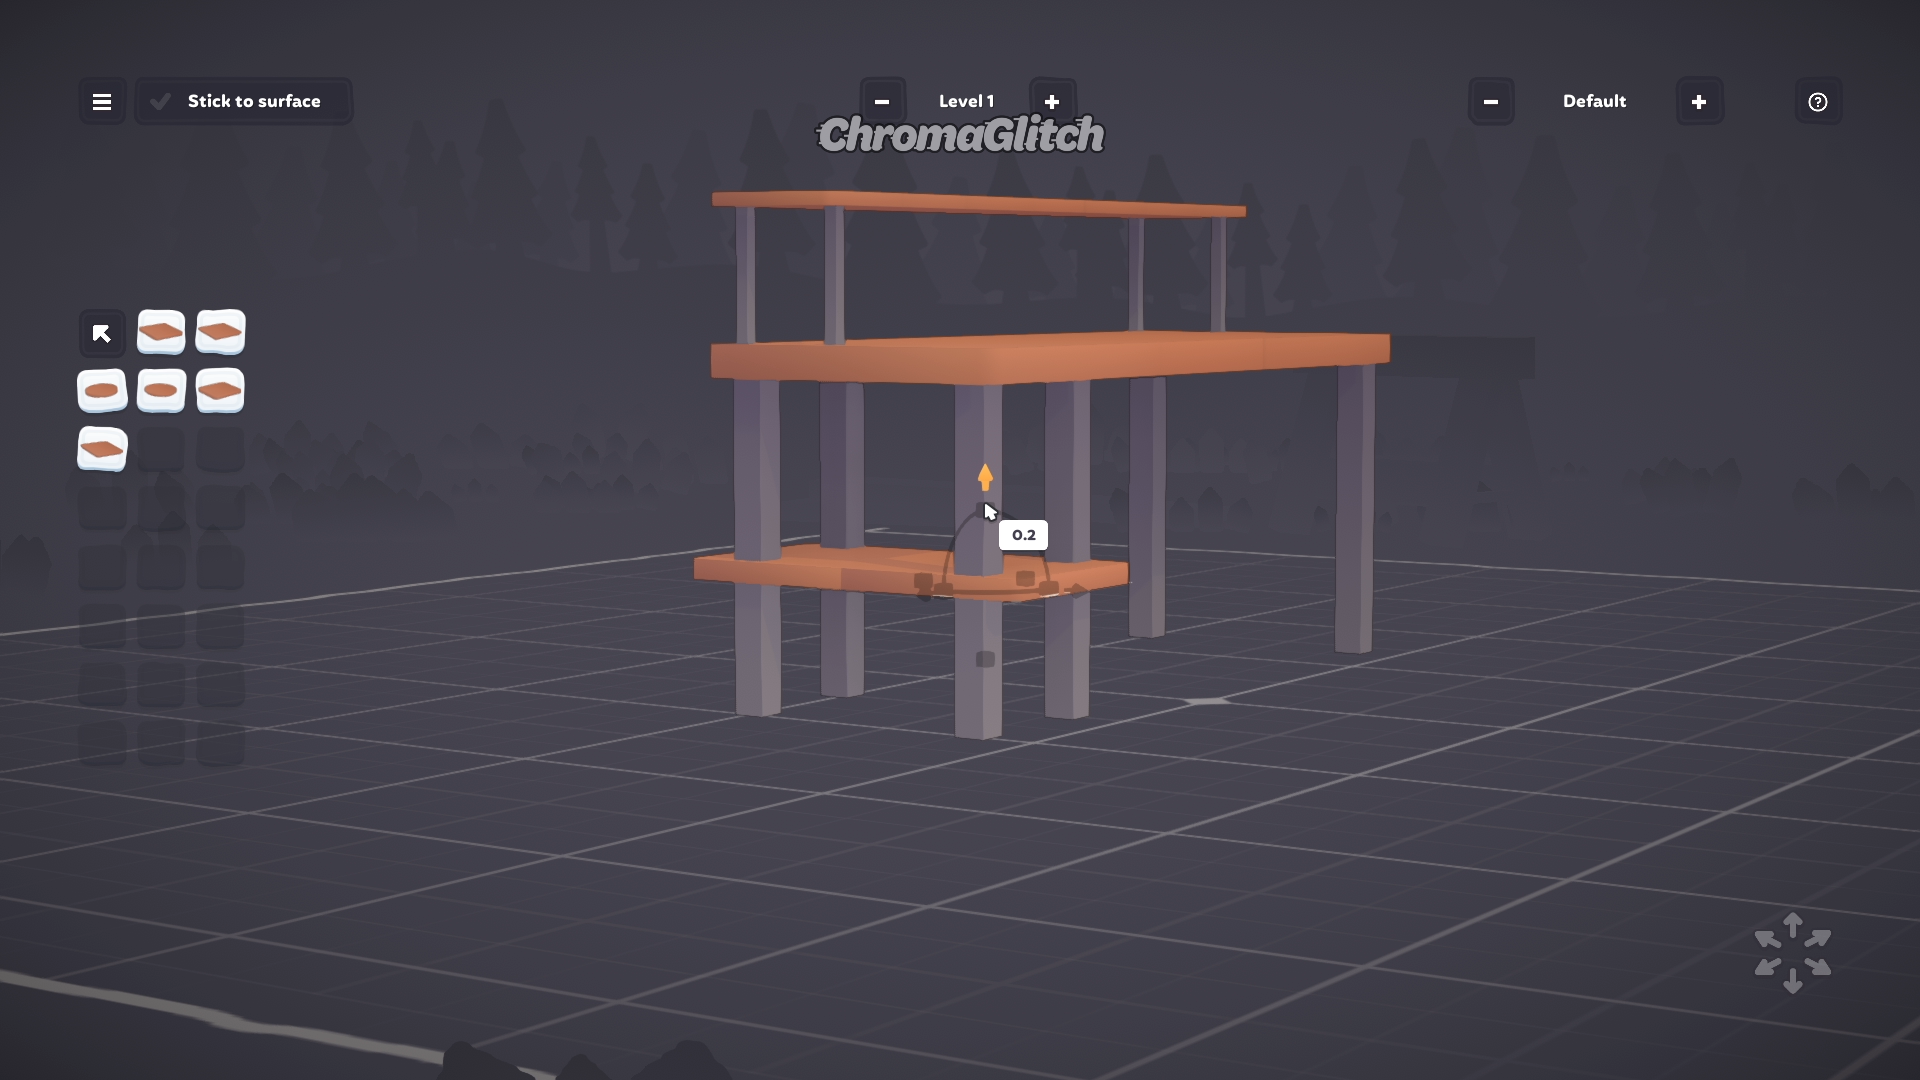
For the top shelving, click on one of the surface squares and duplicate it, placing it on top of the main desk. Scale this new surface down nine times and then, while holding shift, place this surface seven times, creating a long rectangle across the back of the desk.
Make a duplicate of one of the legs and place it on top of the small rectangle, and then scale it down nine times. Duplicate this small leg and place it on the opposite side of the desk. These will be the supports for the top shelf.
Select each of the small squares and raise them up to 0.2; the legs will stick out a little, and this will be fixed. Adjust the legs so that they align, on each side of the desk, and are now connecting to the main surface, which will fix the clipping issue. Duplicate the legs and place the new set at the front of the shelf to support the front of the shelf (this is an optional step).
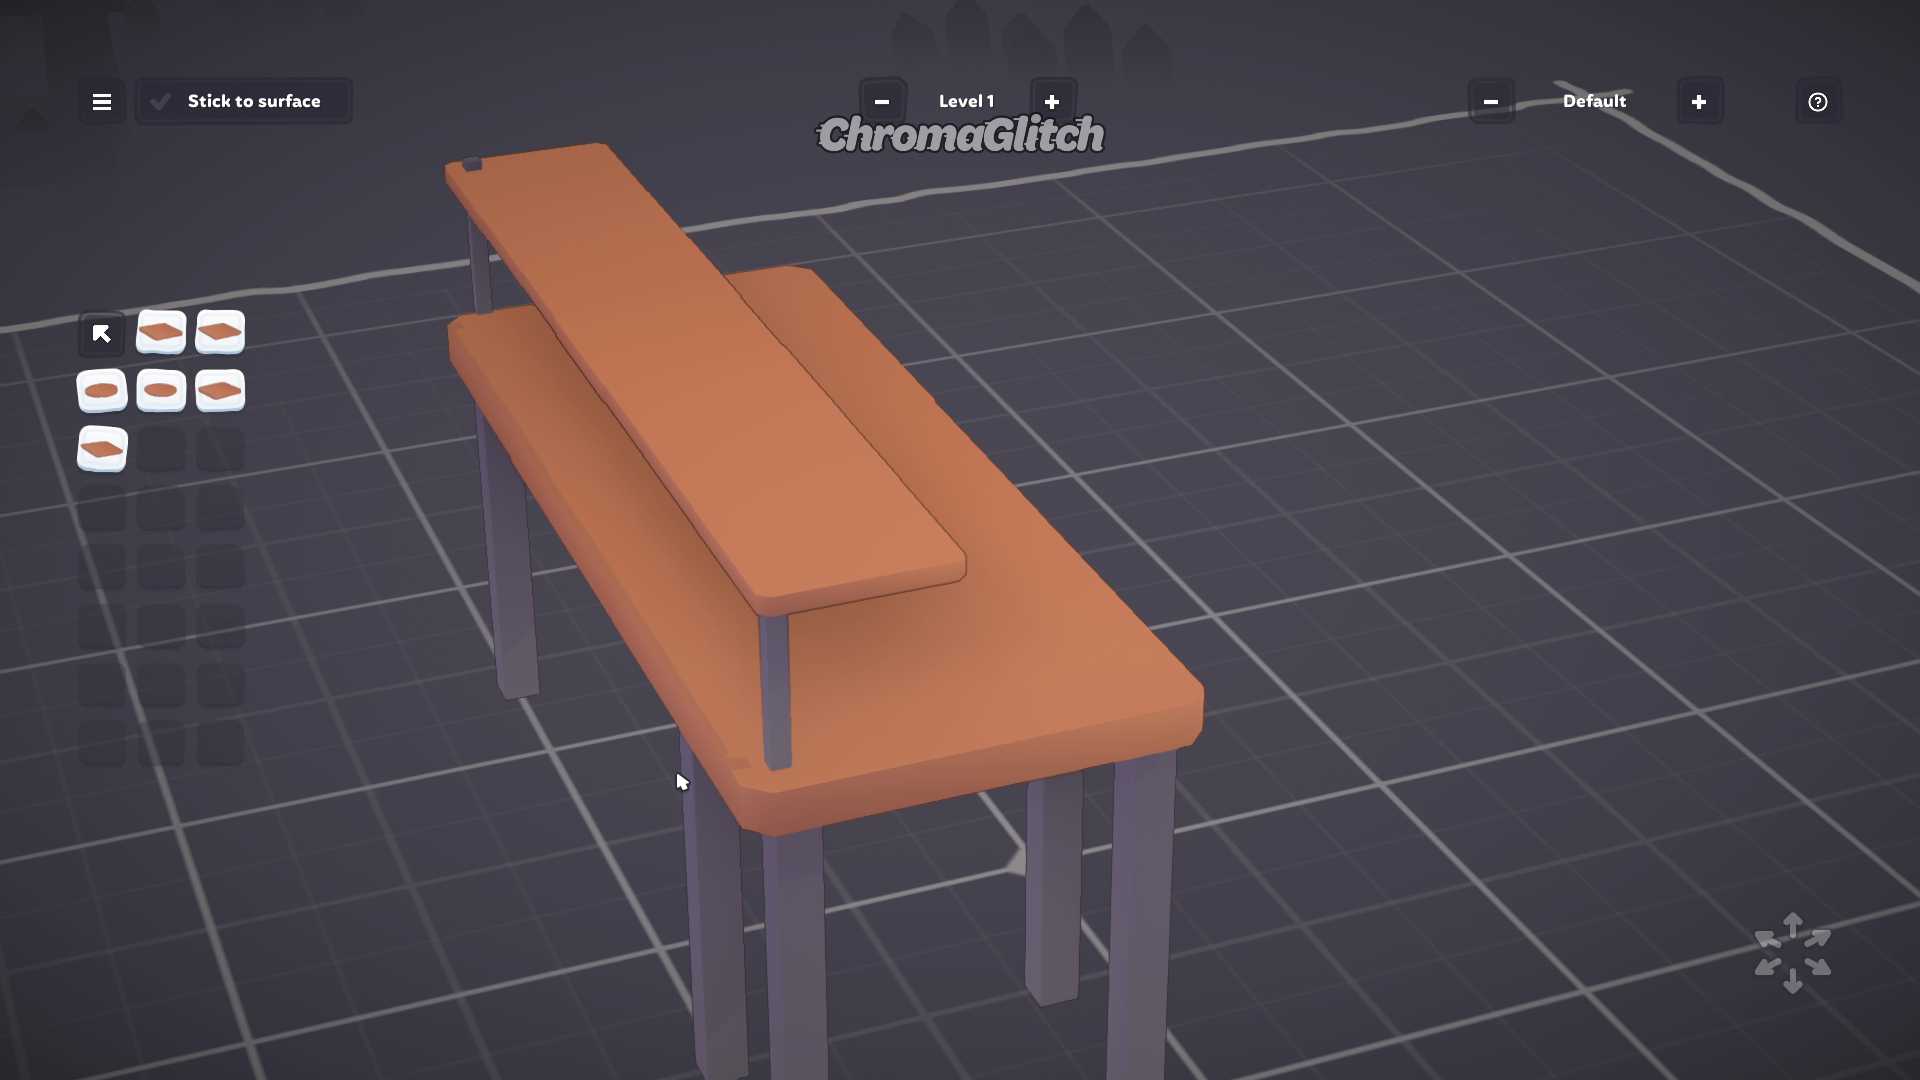
Click on one of the large desk square surfaces and make a duplicate, and place it on the grid, then scale it down six times. Duplicate this square and align it between four of the legs to make a short rectangular surface. Raise these squares to 0.2, and you have a lower storage shelf.

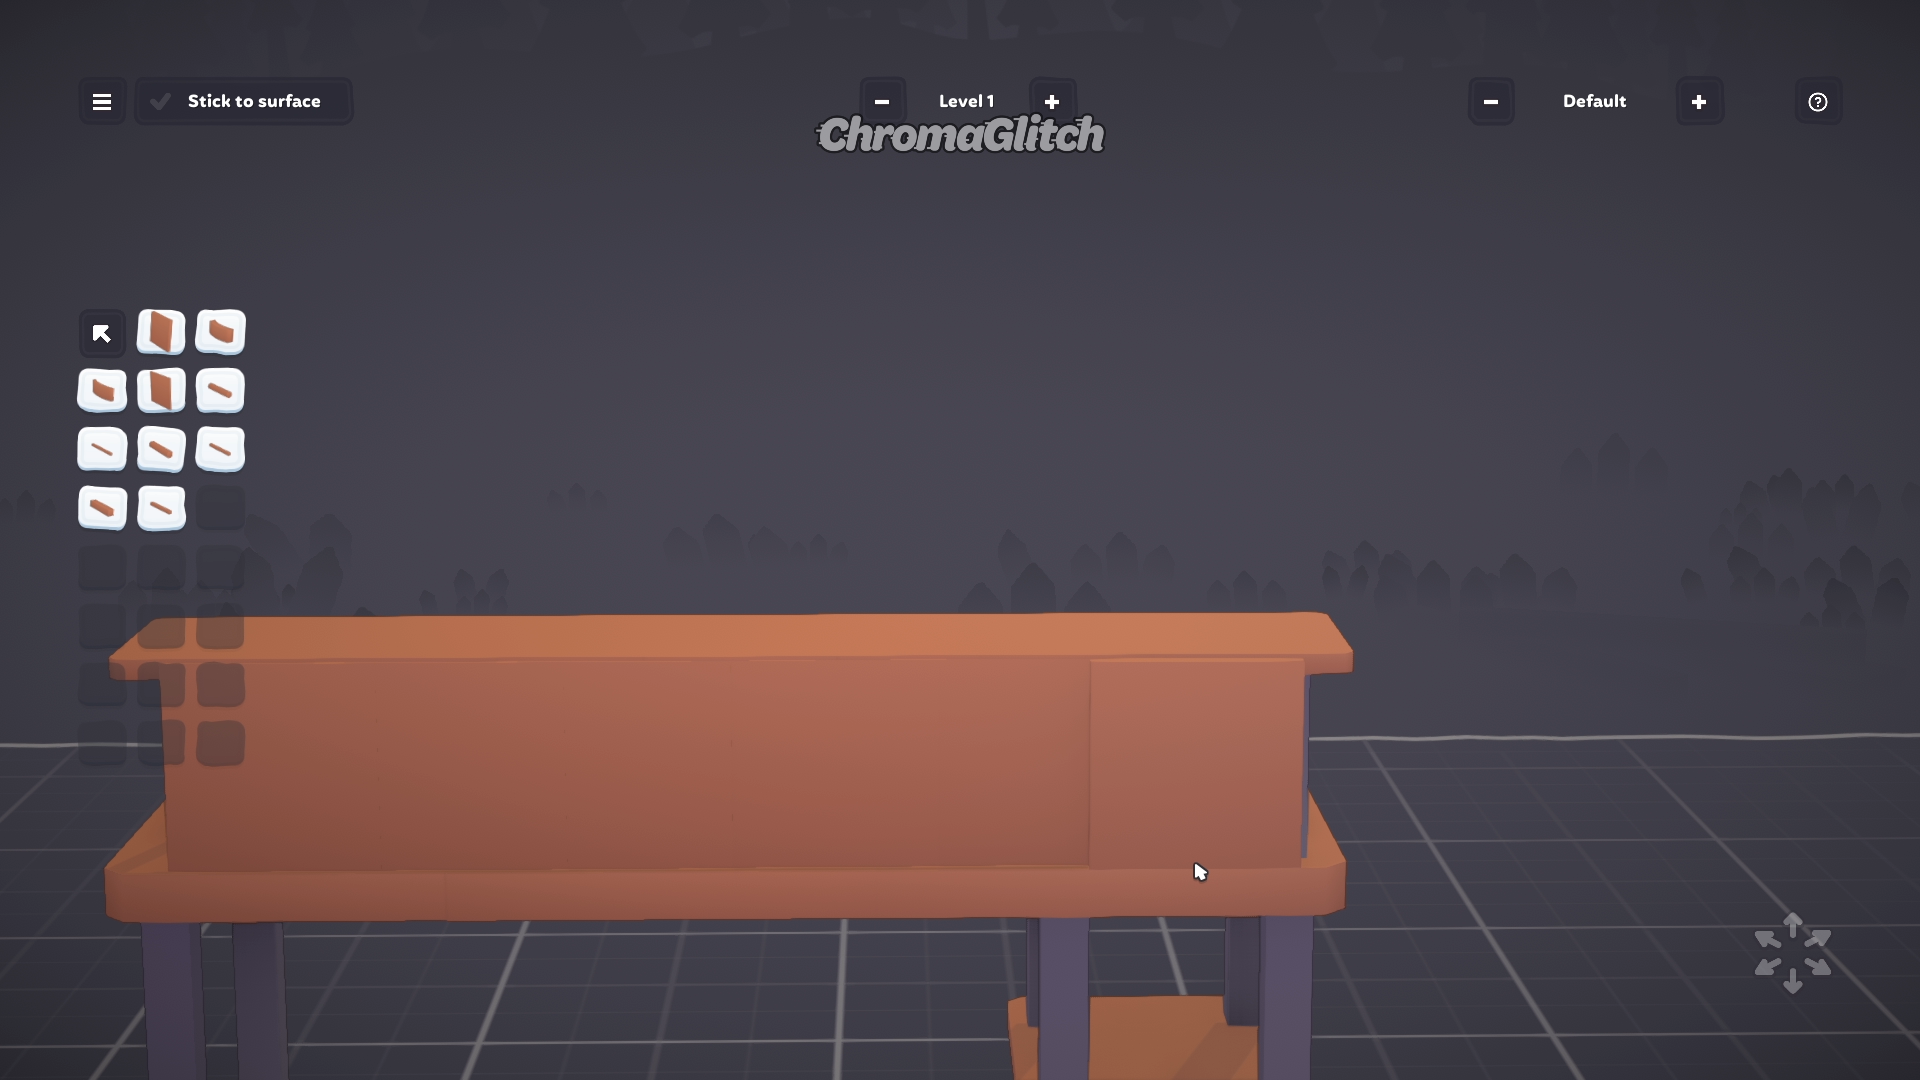
To add more detail to the desk, go to the Planks and Rods catalog and select the first large square. Scale this large square down twelve times, then place six of these squares along the back of the railing connected to the top shelf.
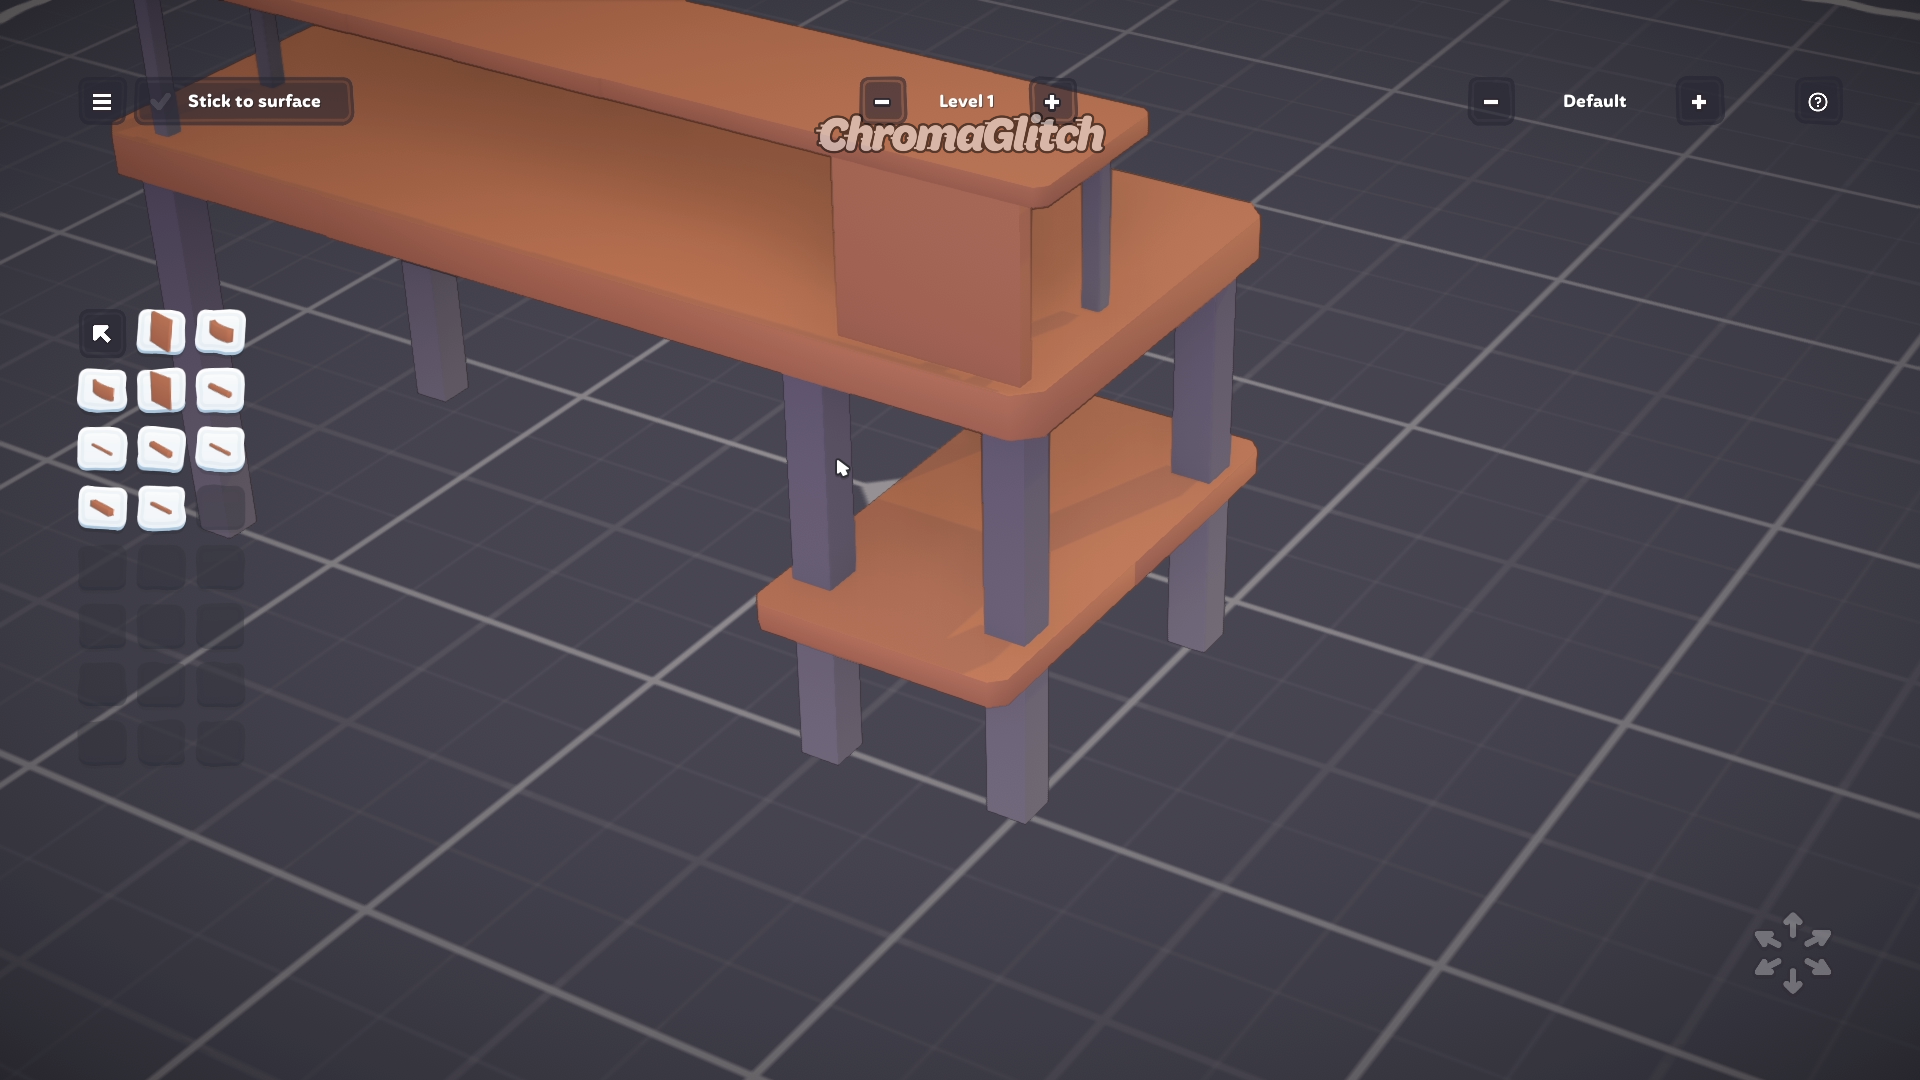
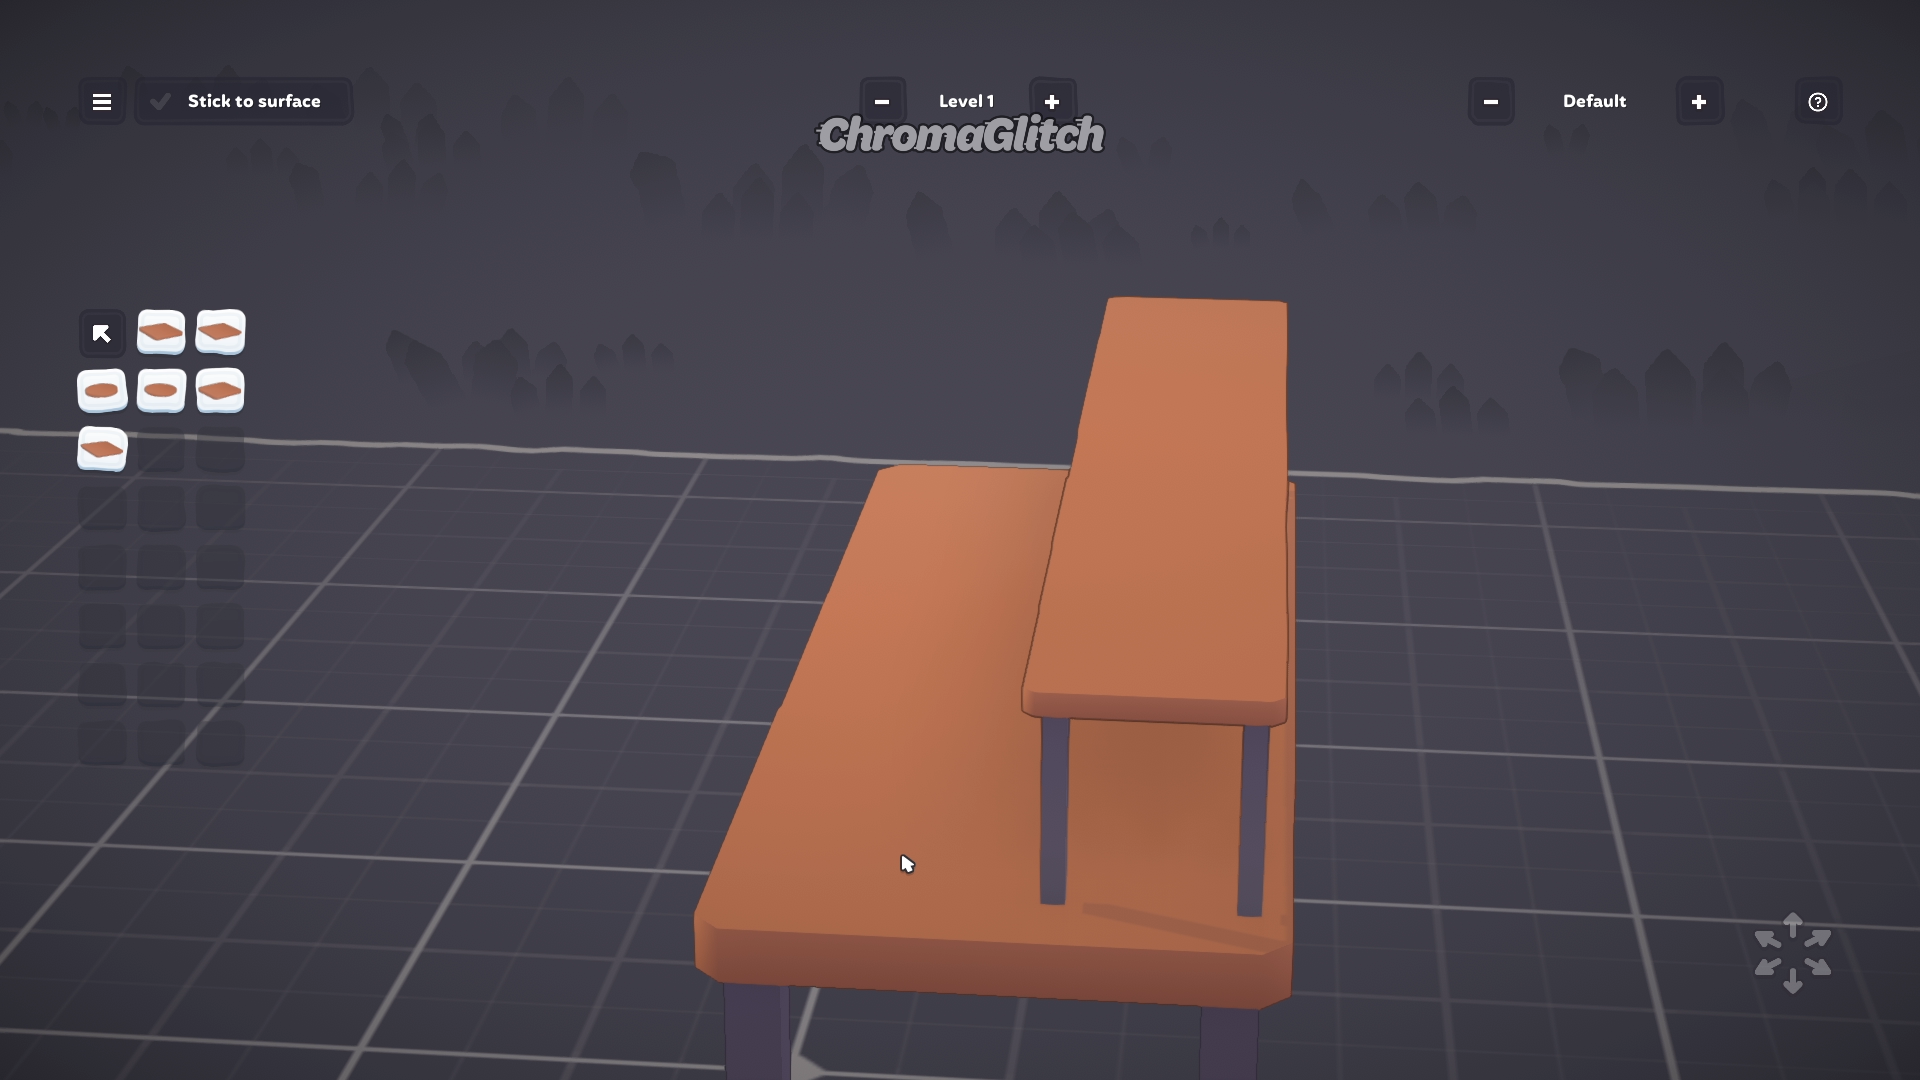
Now the desk is complete, you can add more shelving after this point. I added one more small shelf to the bottom of the desk by duplicating the existing surfaces and adjusting them, but again, shelving is optional.
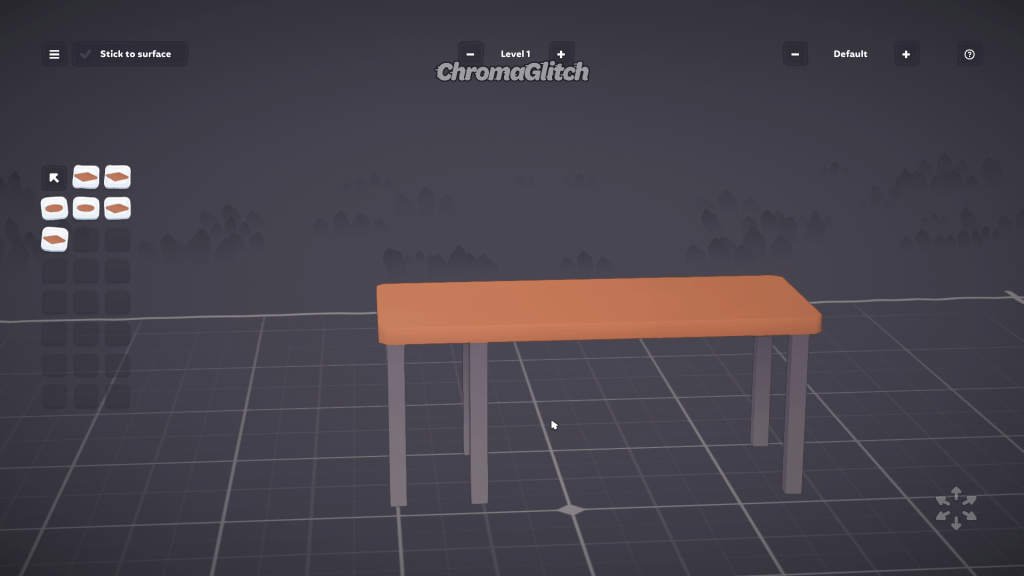
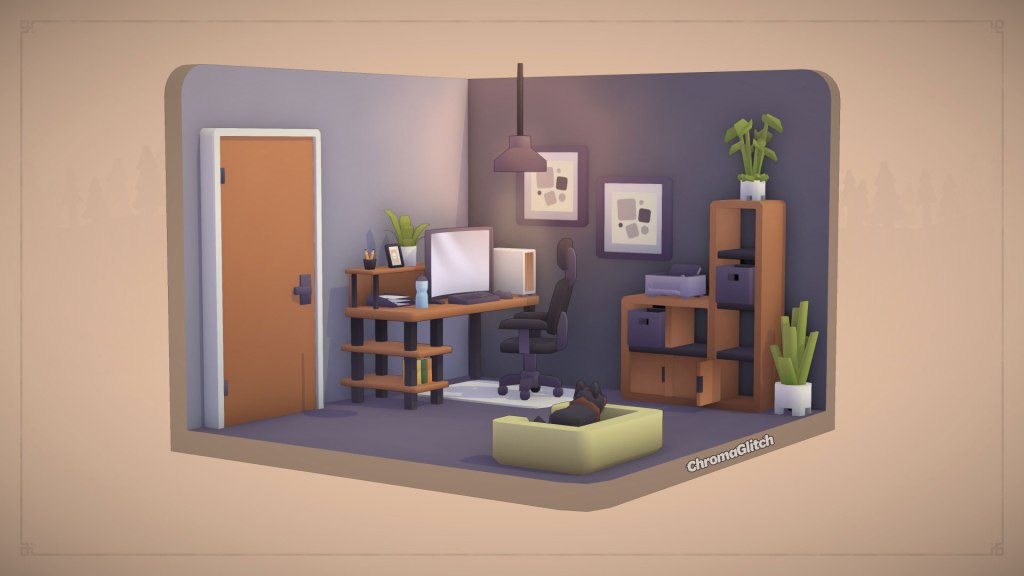
The final step is to save the desk and then go test it out in the diorama mode. You can scale the desk up or down, and also change the color palette to match the room you place it in. Objects can also be placed on all of the surfaces.


Leave a comment